Current Status
Not Enrolled
Price
Closed
Get Started
This course is currently closed


Course Content
Expand All
Welcome-2
3 Topics
Expand
Lesson Content
0% Complete
0/3 Steps
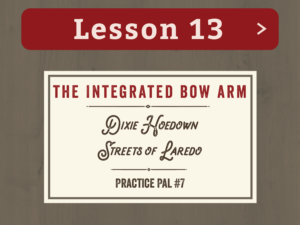
Lesson 13
30 Topics
Expand
Lesson Content
0% Complete
0/30 Steps
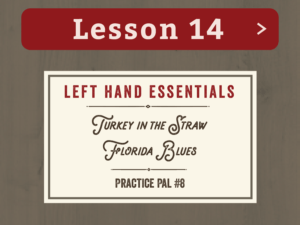
Lesson 14
30 Topics
Expand
Lesson Content
0% Complete
0/30 Steps
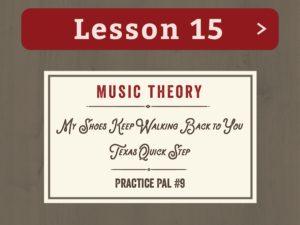
Lesson 15
40 Topics
Expand
Lesson Content
0% Complete
0/40 Steps
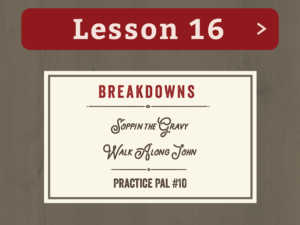
Lesson 16
39 Topics
Expand
Lesson Content
0% Complete
0/39 Steps
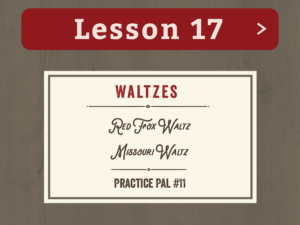
Lesson 17
32 Topics
Expand
Lesson Content
0% Complete
0/32 Steps
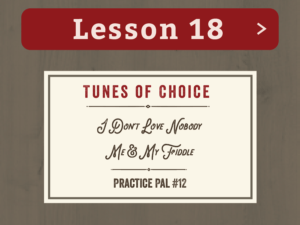
Lesson 18
35 Topics
Expand
Lesson Content
0% Complete
0/35 Steps
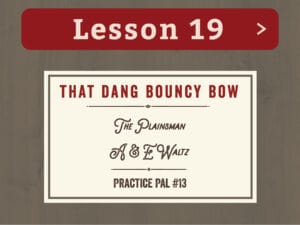
Lesson 19
33 Topics
Expand
Lesson Content
0% Complete
0/33 Steps
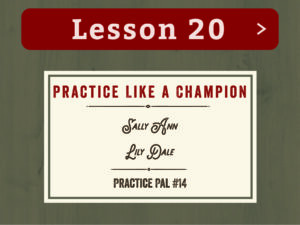
Lesson 20
43 Topics
Expand
Lesson Content
0% Complete
0/43 Steps
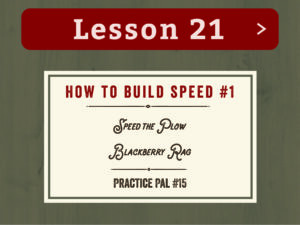
Lesson 21
31 Topics
Expand
Lesson Content
0% Complete
0/31 Steps
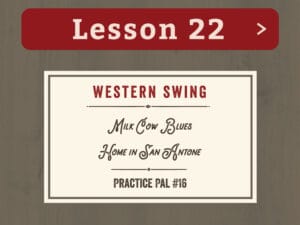
Lesson 22
46 Topics
Expand
Lesson Content
0% Complete
0/46 Steps
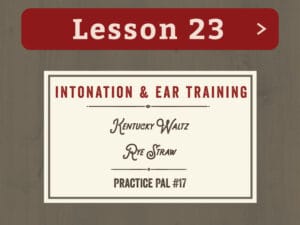
Lesson 23
43 Topics
Expand
Lesson Content
0% Complete
0/43 Steps
Lesson 24
34 Topics
Expand
Lesson Content
0% Complete
0/34 Steps